
This tutorial describes how to set up email on iPhone or iPad devices, using cPanel email.
NOTE: For this tutorial, we will use [email protected] as our test email account. You will need to change some of the settings to match your setup.
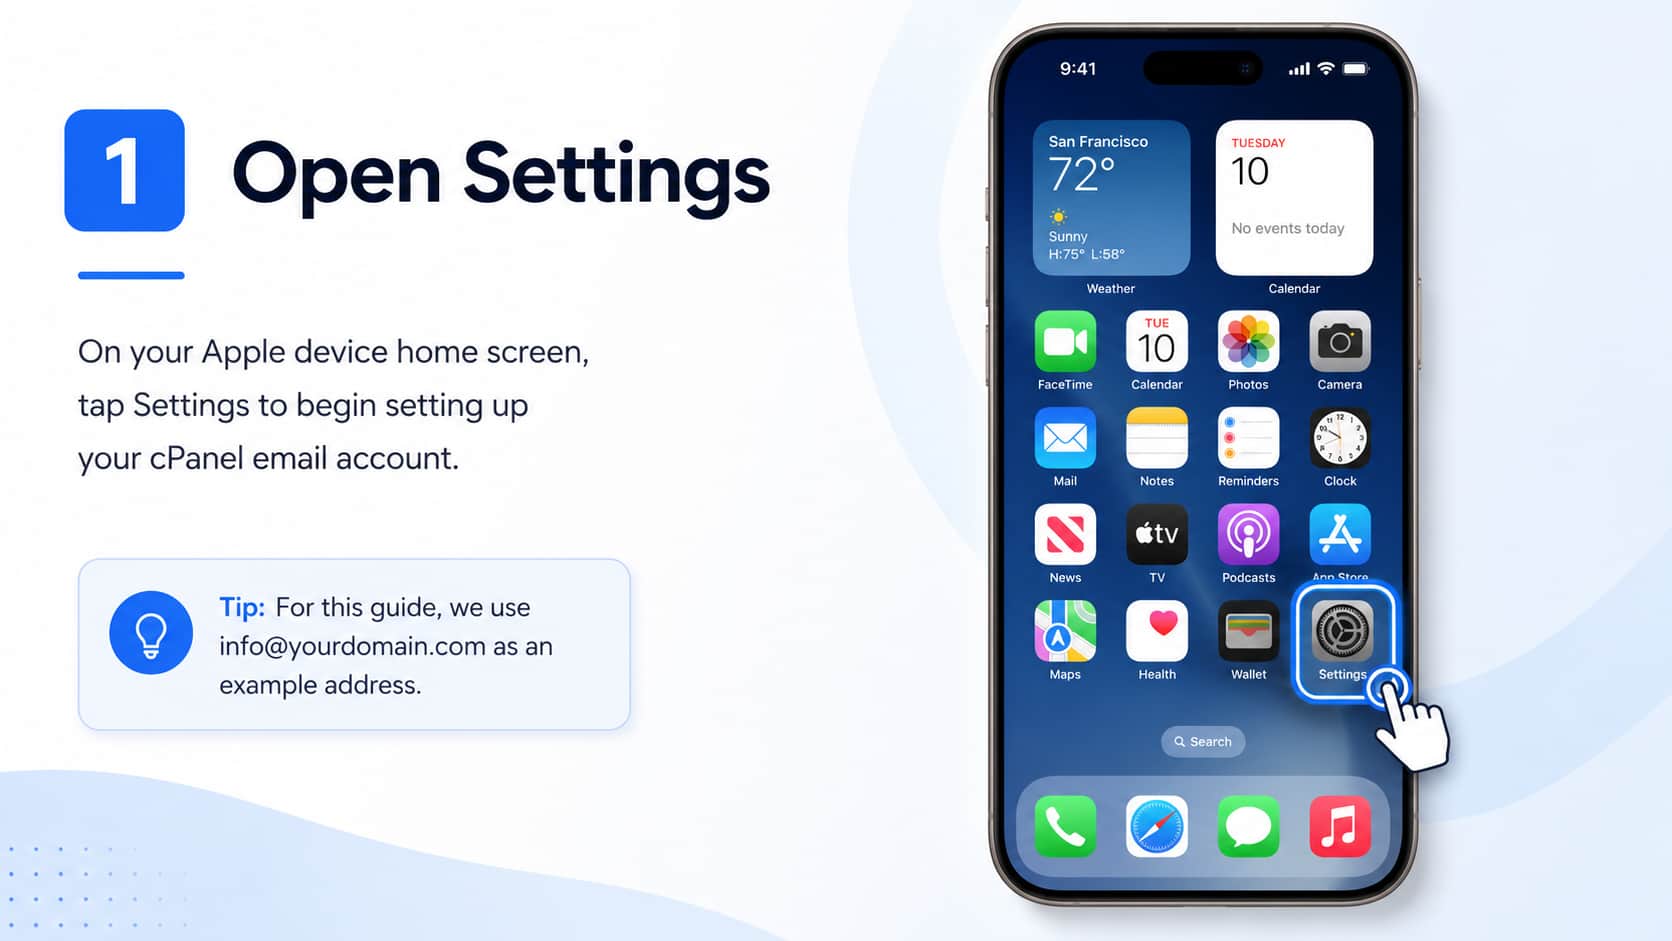
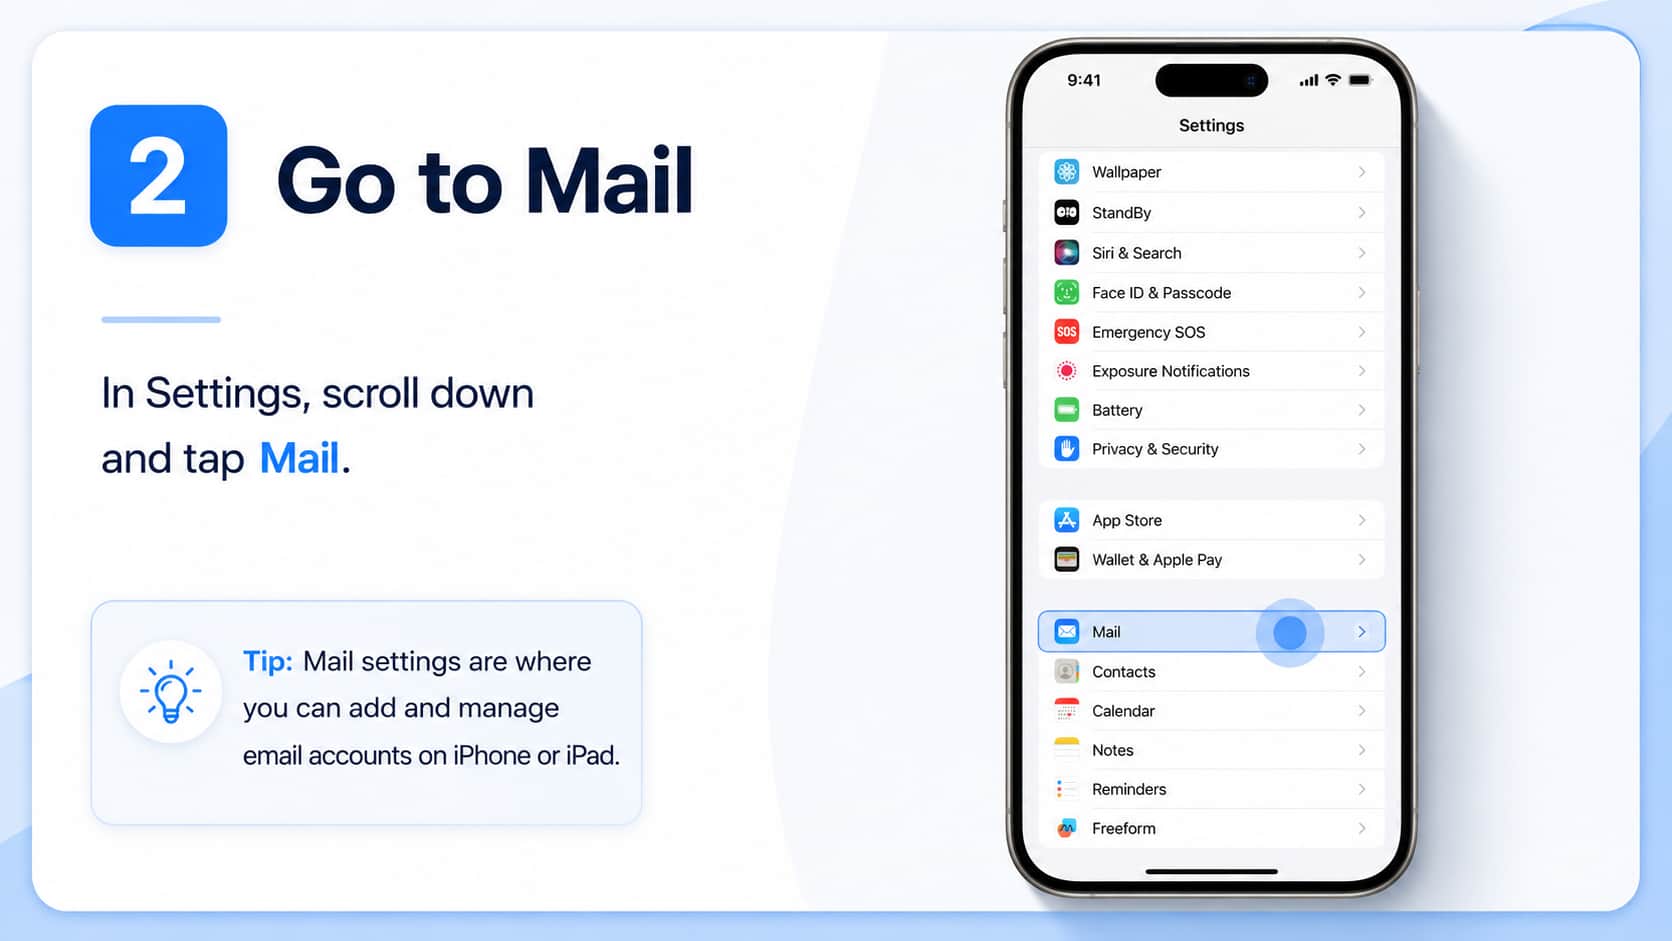
On your Apple Device home screen, go to Settings, then Mail.
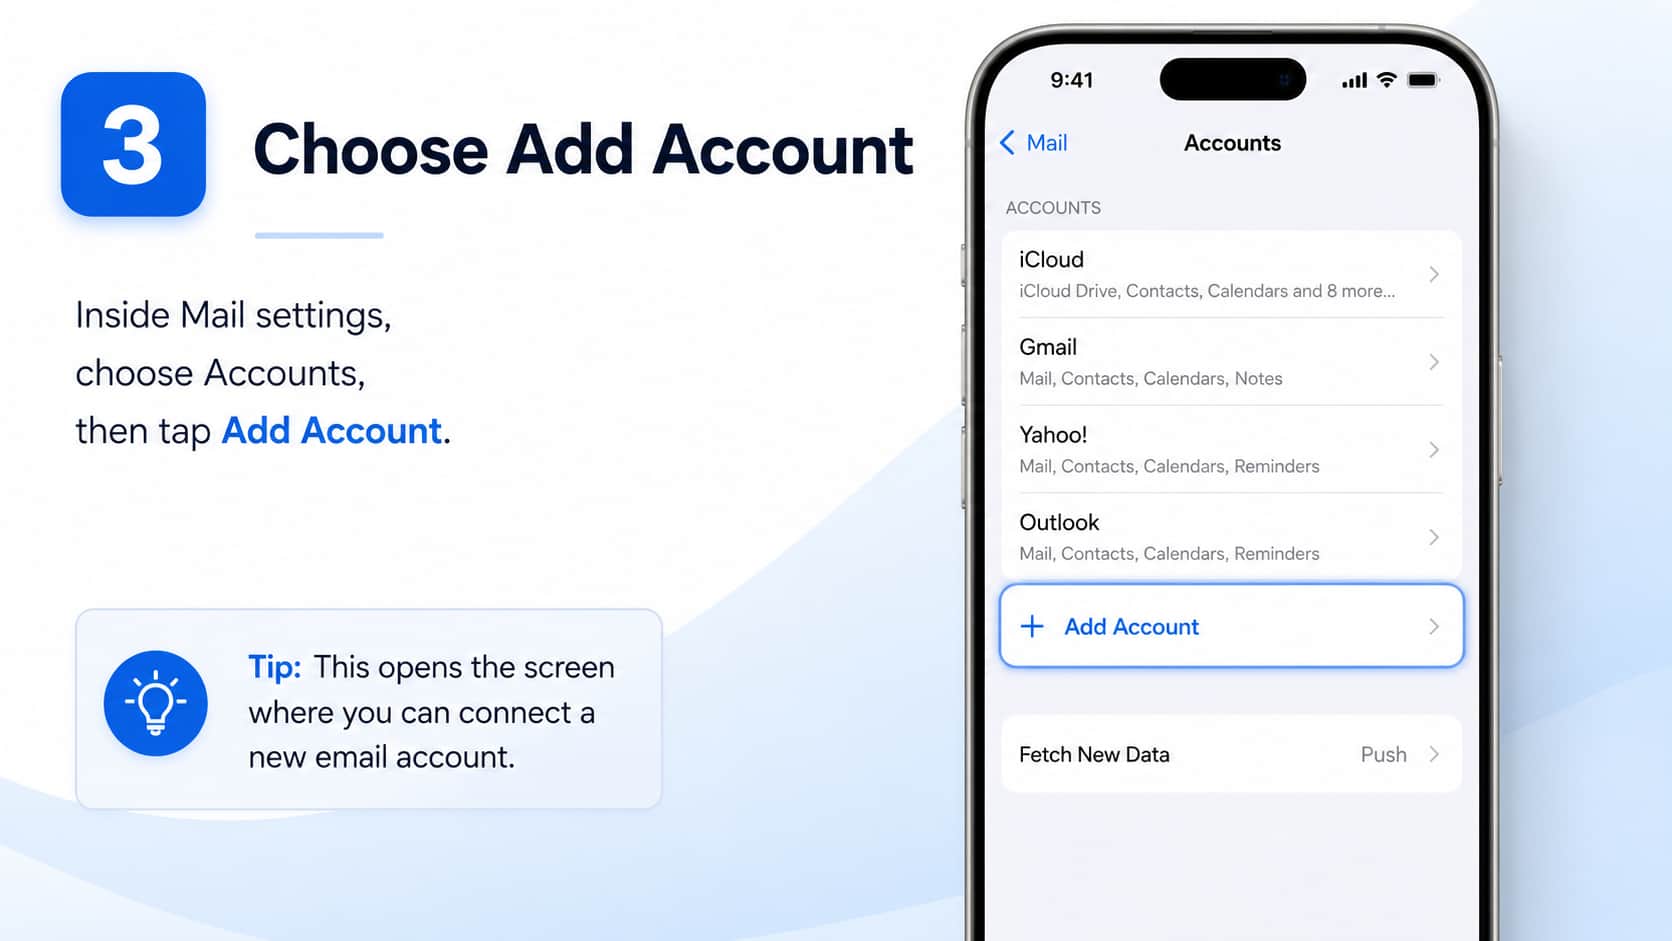
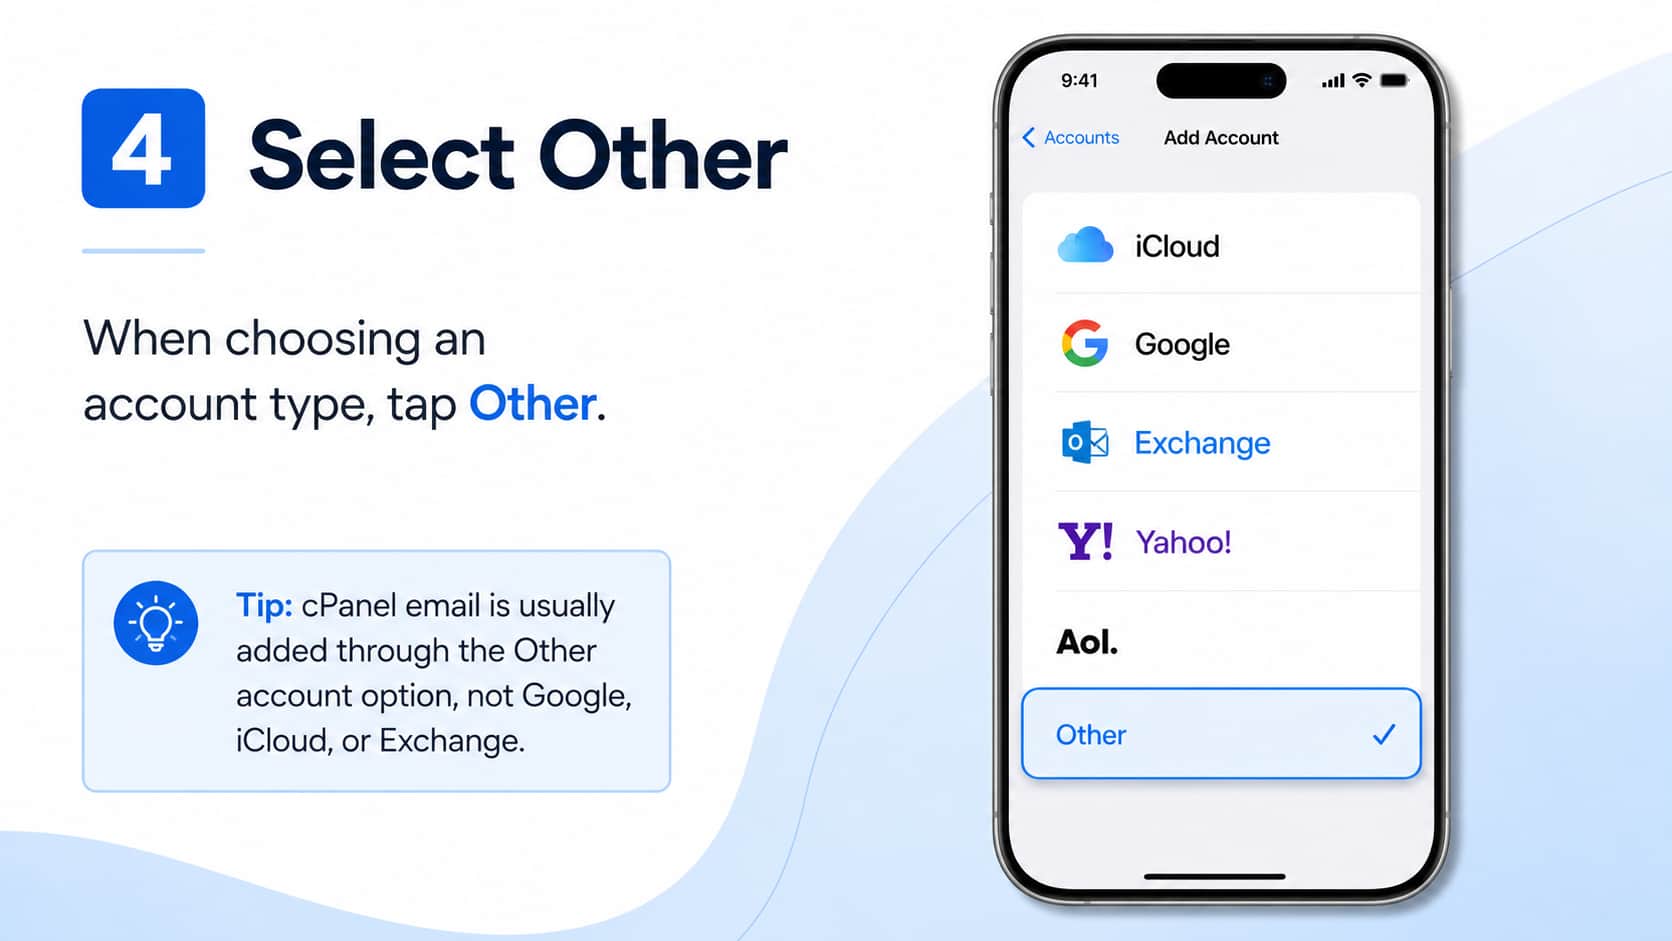
Choose Add Account, then choose Other as the account type.
In the New Account screen, enter your own email account’s details, including your name, email address, password, and desired account description, then choose Next.
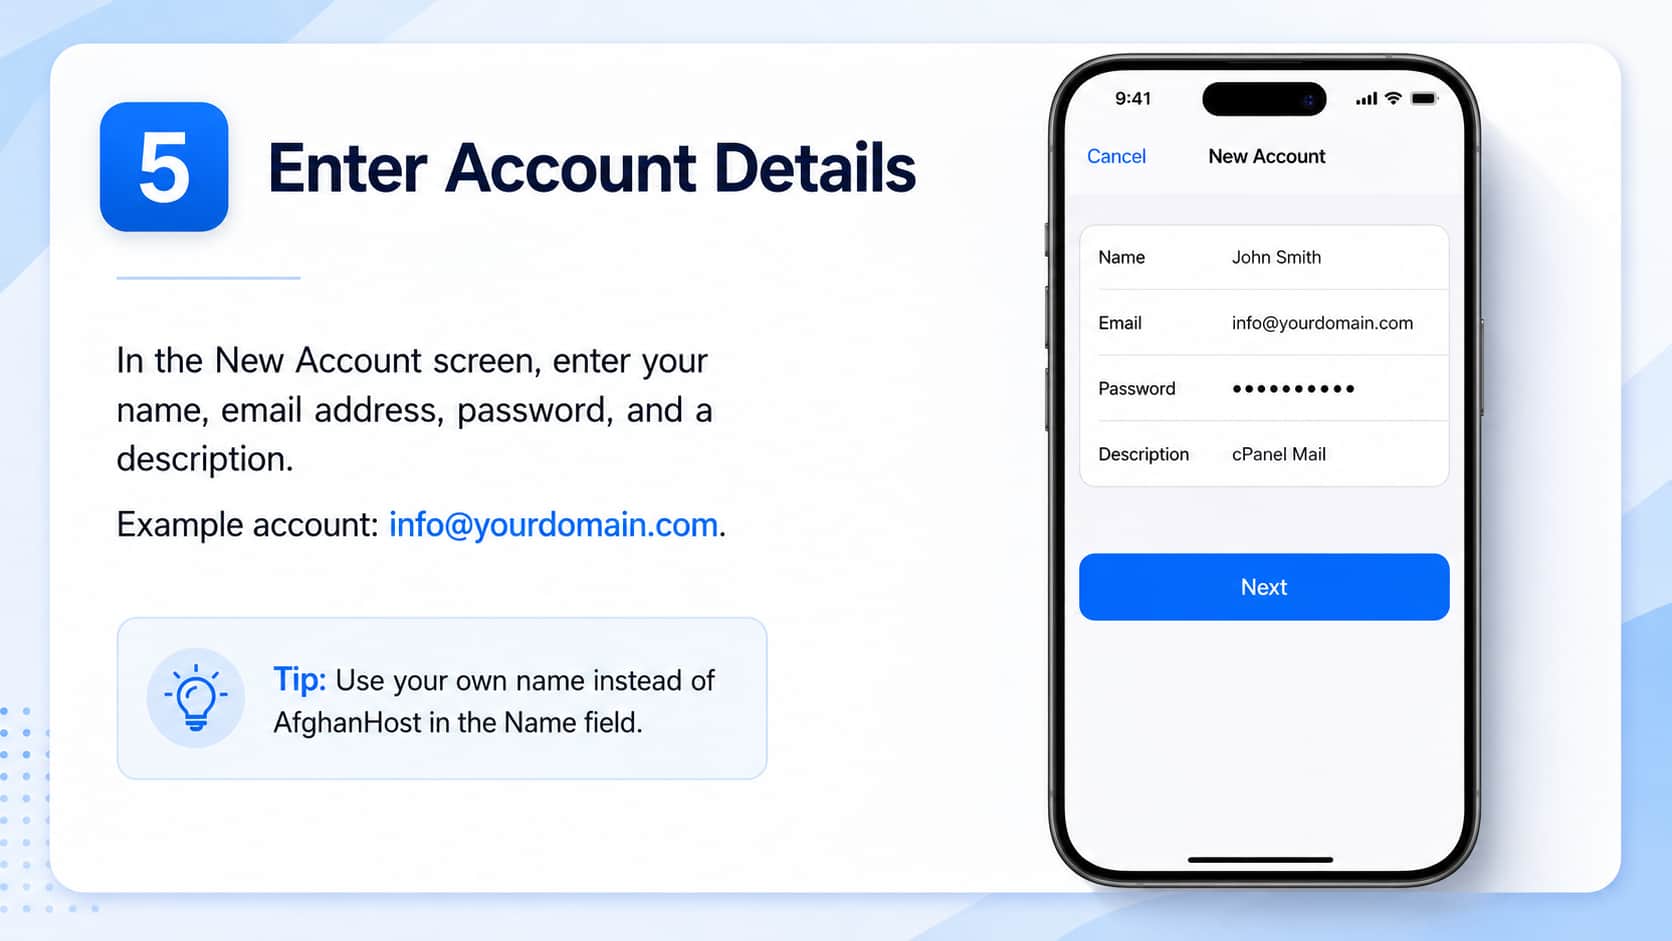
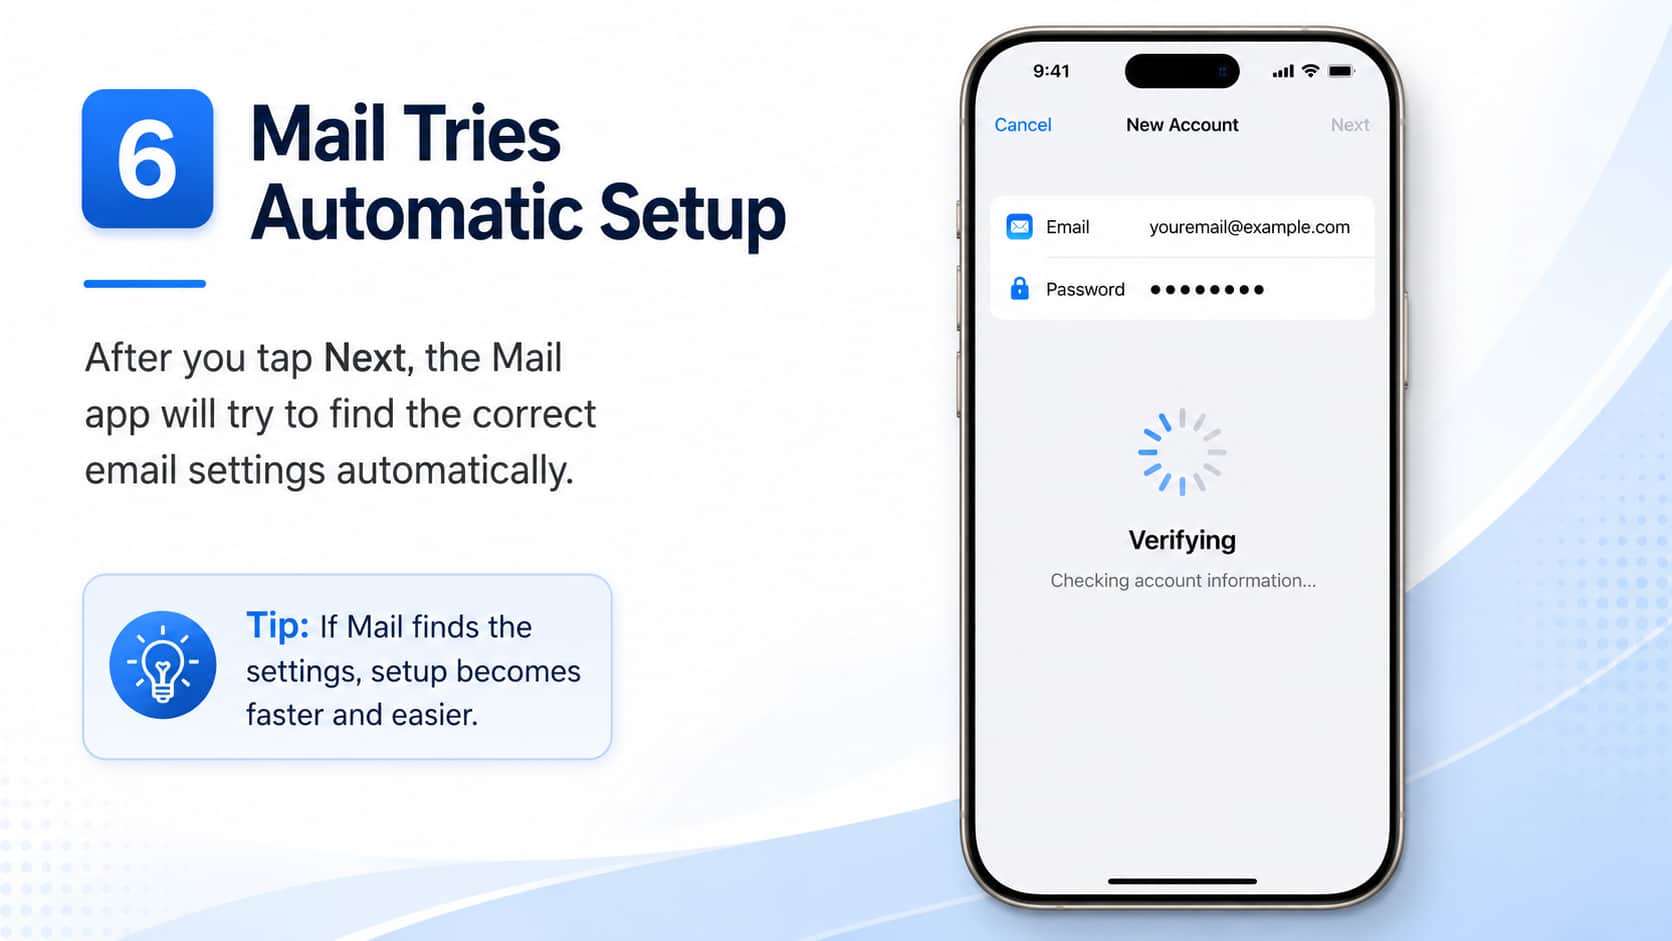
The mail application will try to find the email settings and finish your account setup automatically.
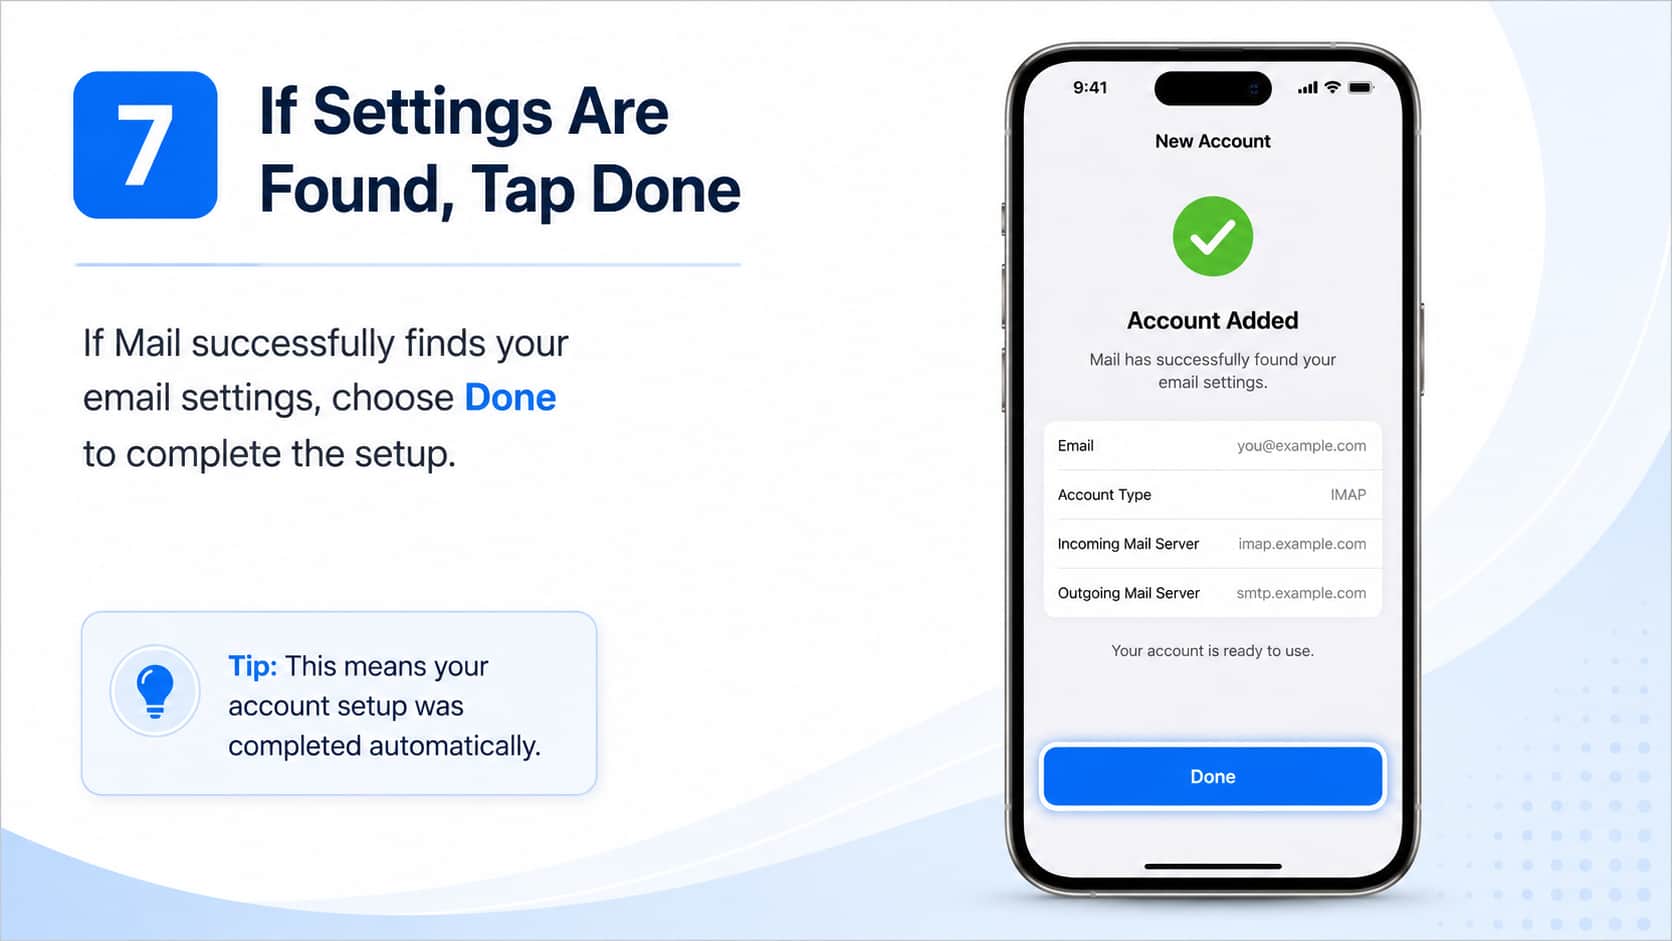
If Mail finds your email settings, choose Done to complete your account setup.
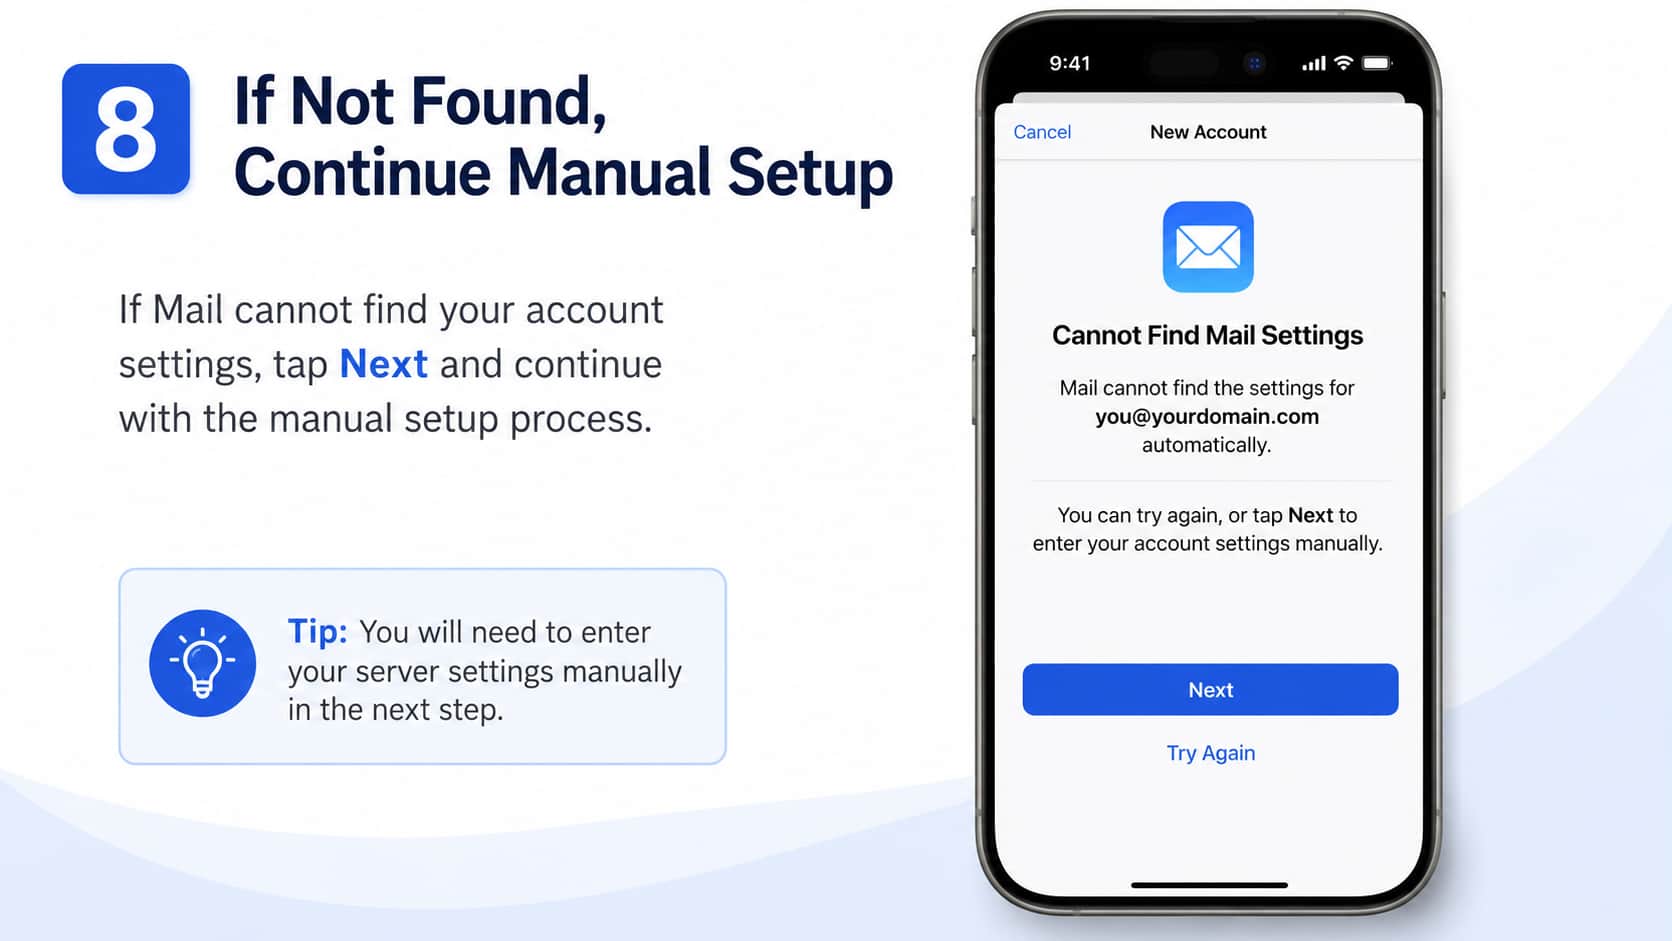
If the mail application can’t find your account settings, choose Next to continue the manual setup process.
Enter all the required information as shown below, adjusting the settings for your account.
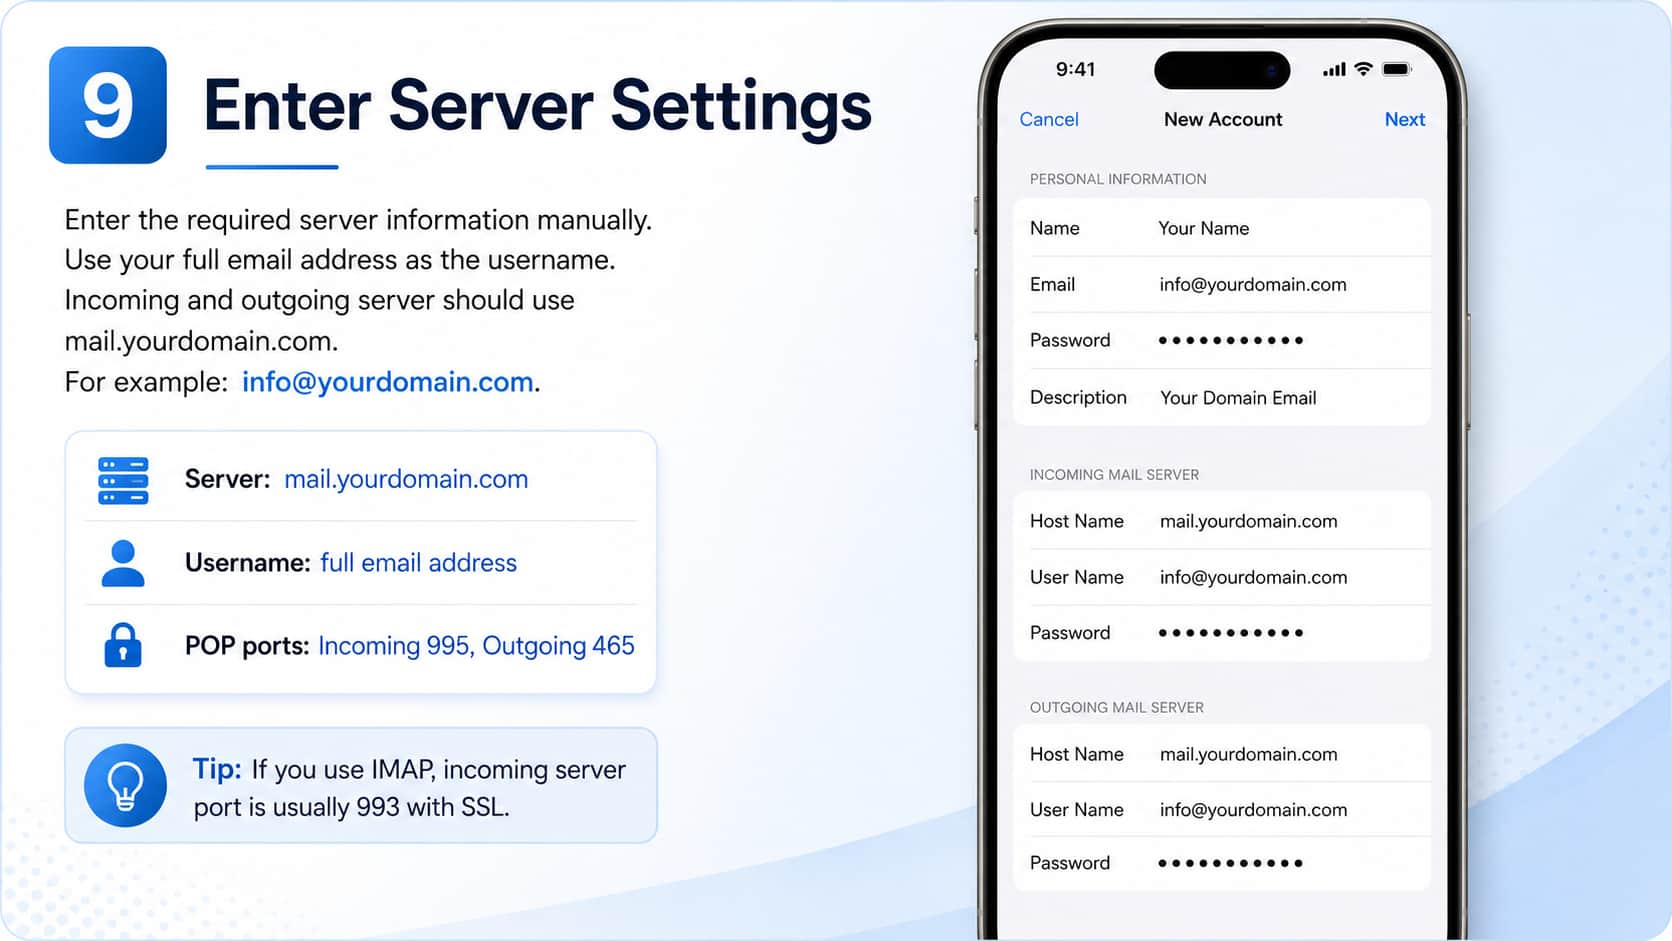
NOTE: For the server fields, you want to use your domain name with “mail.” in front of it. For example, if your domain was afghanhost.af you would enter mail.afghanhost.af for the server.
NOTE: The username is always the full email address.
NOTE: If you are setting up a POP account instead of IMAP, you will need the following settings to be confirmed.
Incoming Port: 995
Outgoing Port: 465
Clicking Add Account will then give you a confirmation notice that the account has been set up successfully.
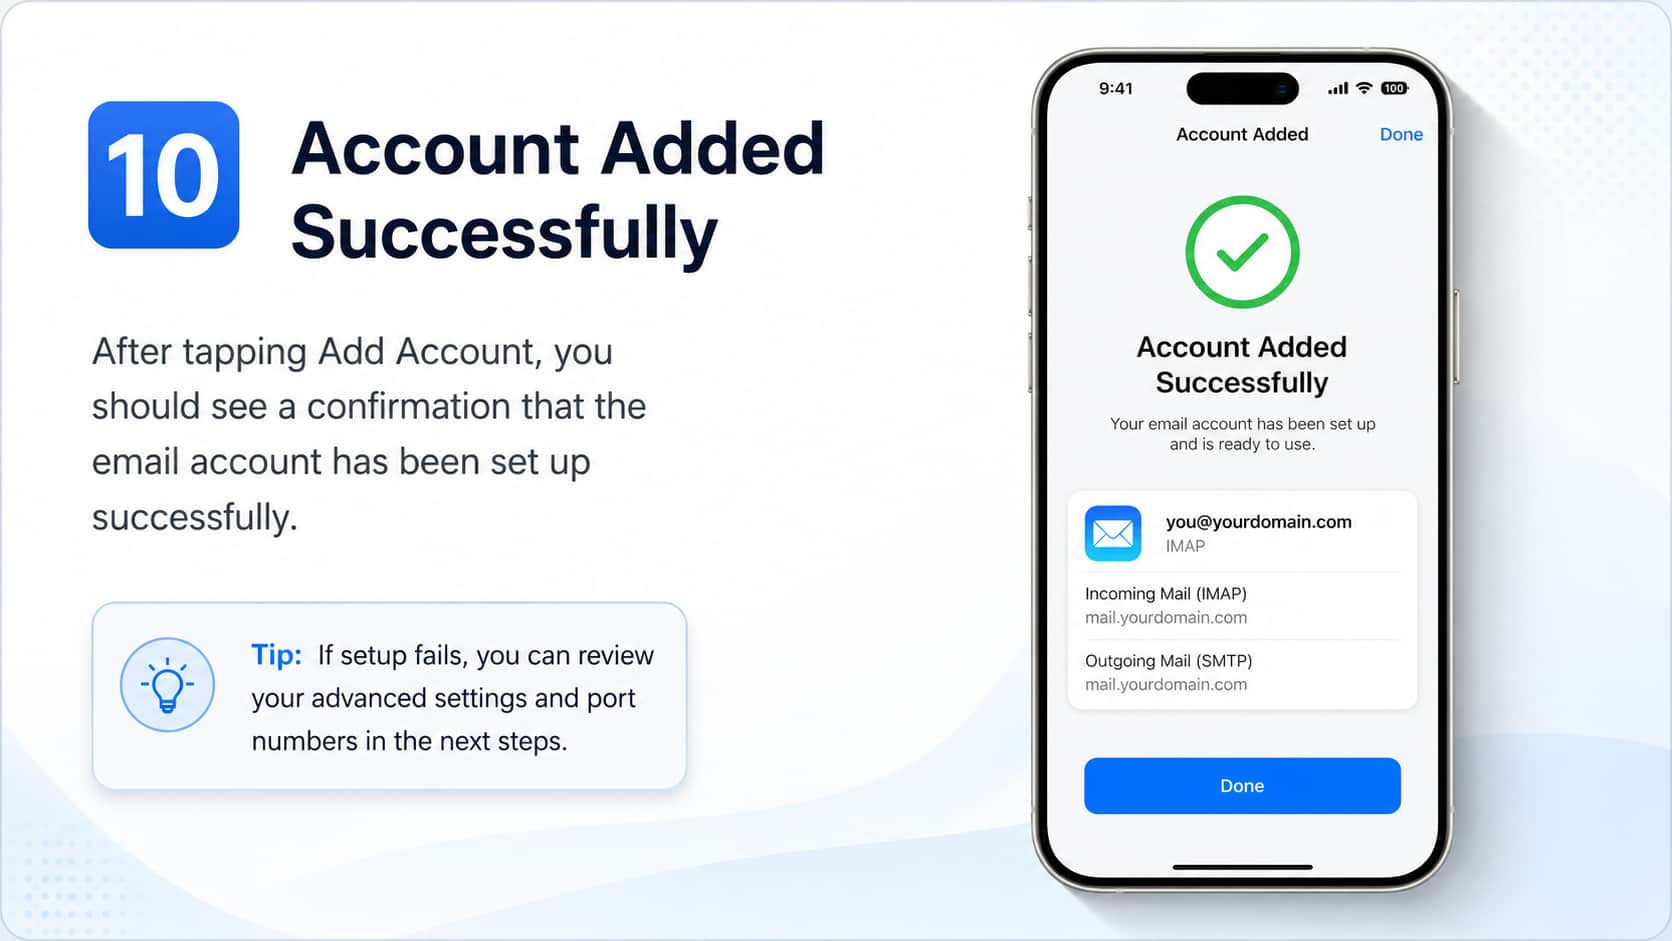
Advanced Settings – Failed to Connect
If the confirmation fails, check to make sure that the port numbers were set up successfully.
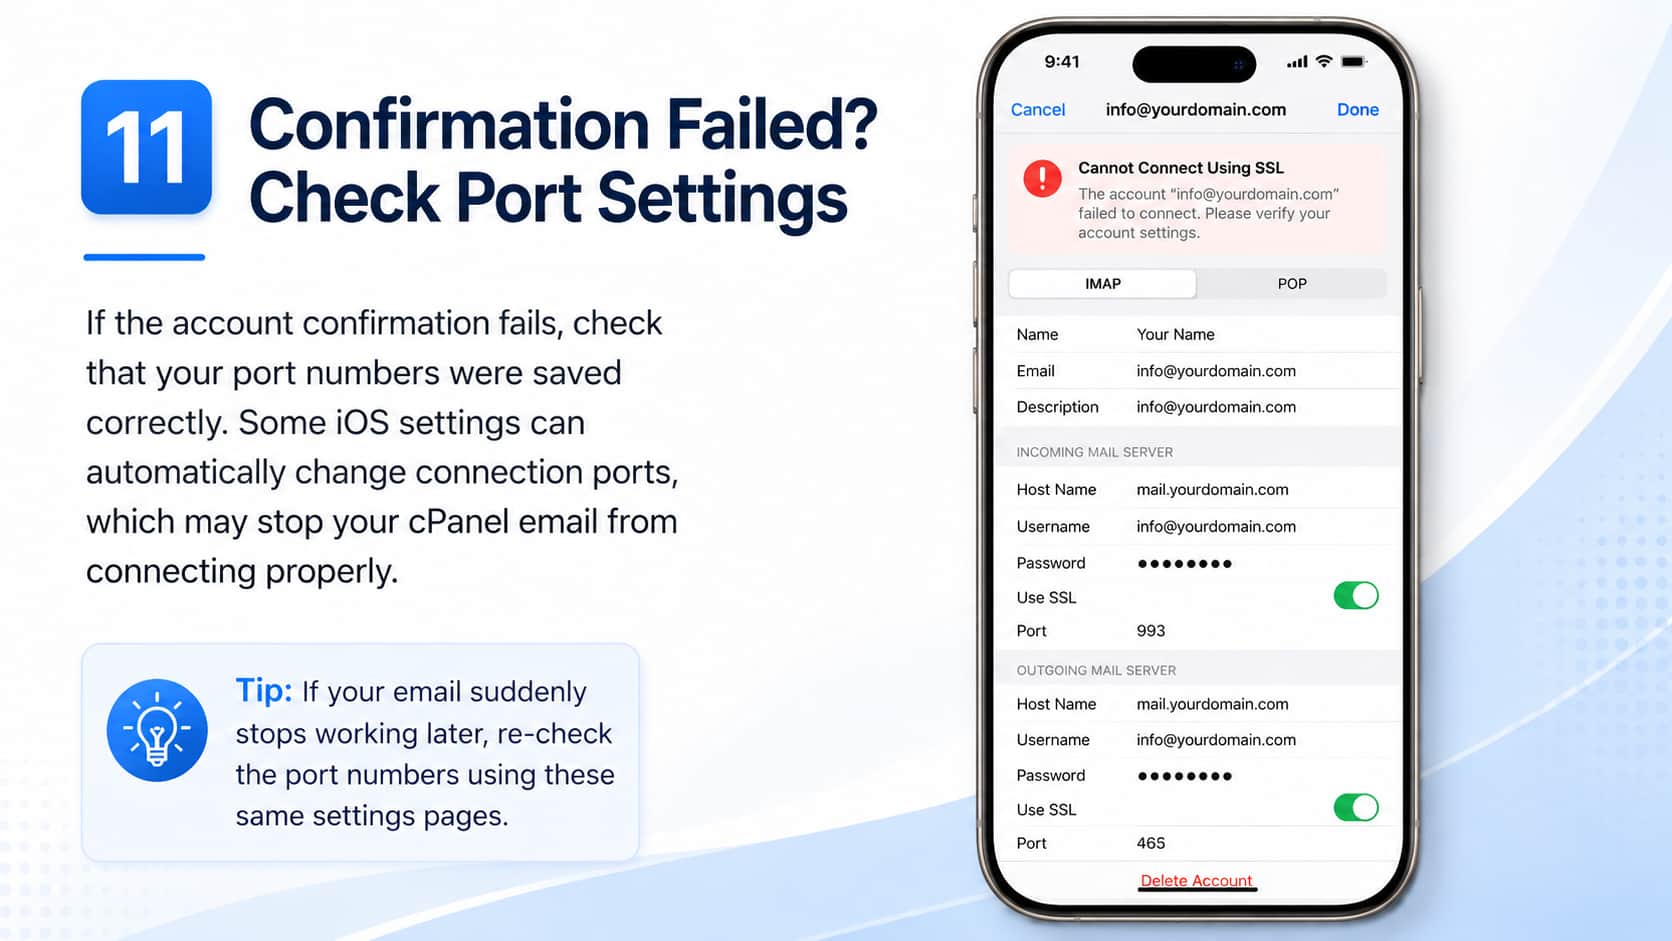
If you are using any settings to automatically manage the connection settings, your iOS device may change port numbers without notifying you. This can break your connection to the AfghanHost servers. If you notice this in the future, check your port numbers using these same steps.
On the account settings page (Home -> Settings -> Mail -> Accounts -> Account Name), tap on the Outgoing Mail Server name directly to check its port settings.
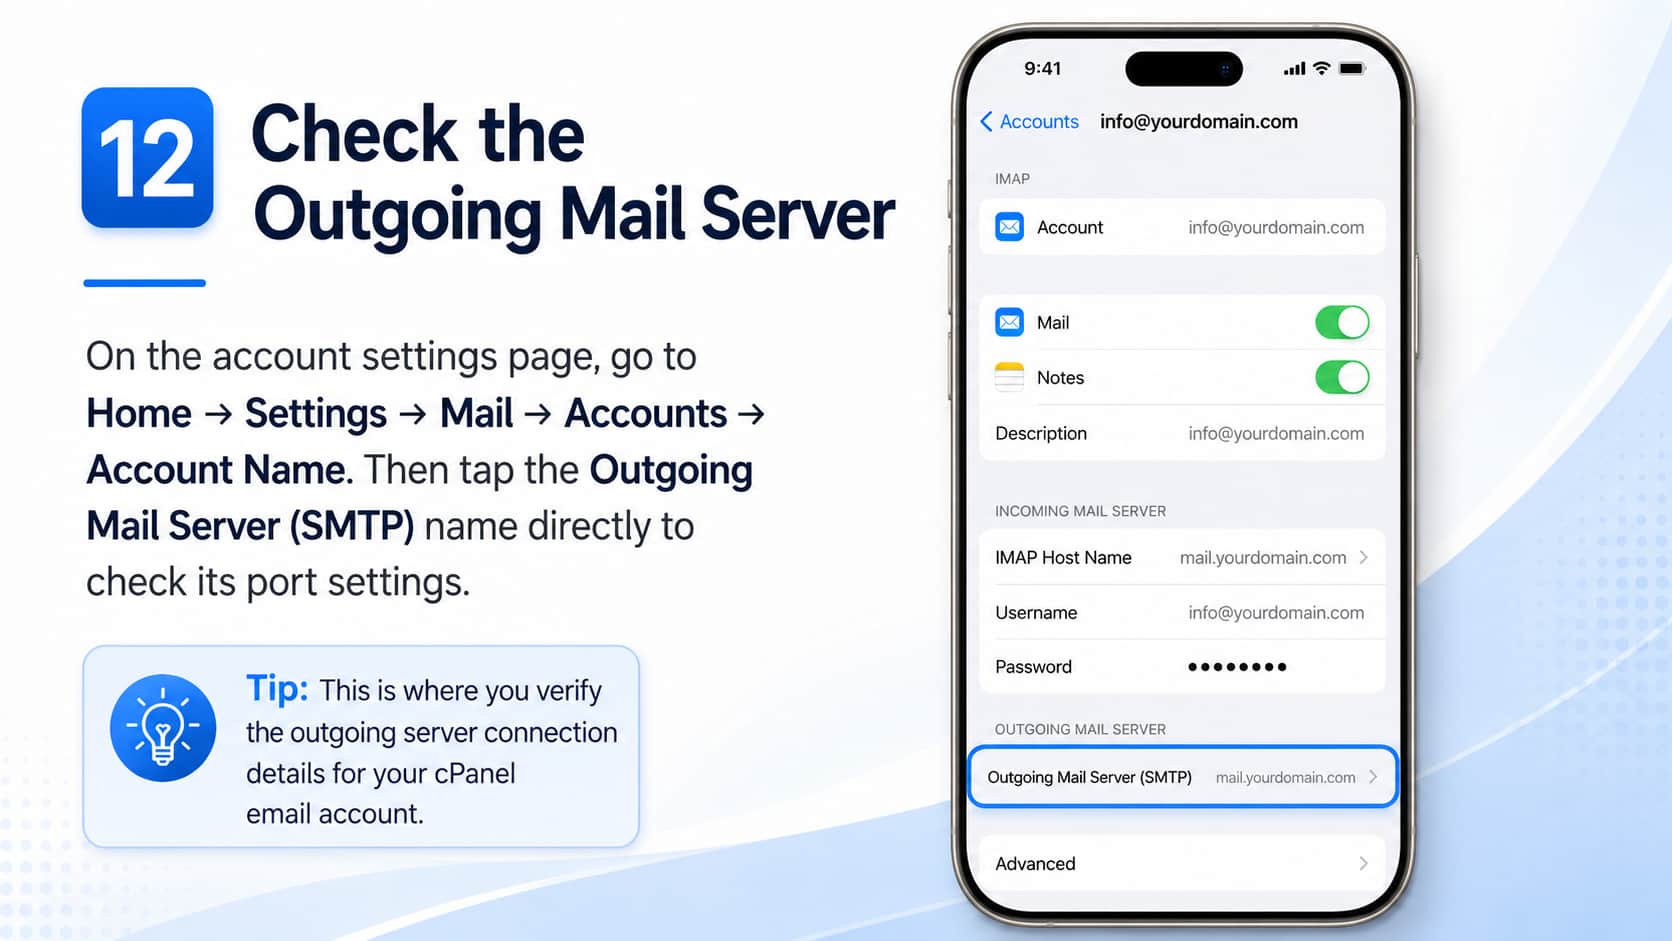
The outgoing port is always the same for AfghanHost cPanel accounts: 465 or 587.
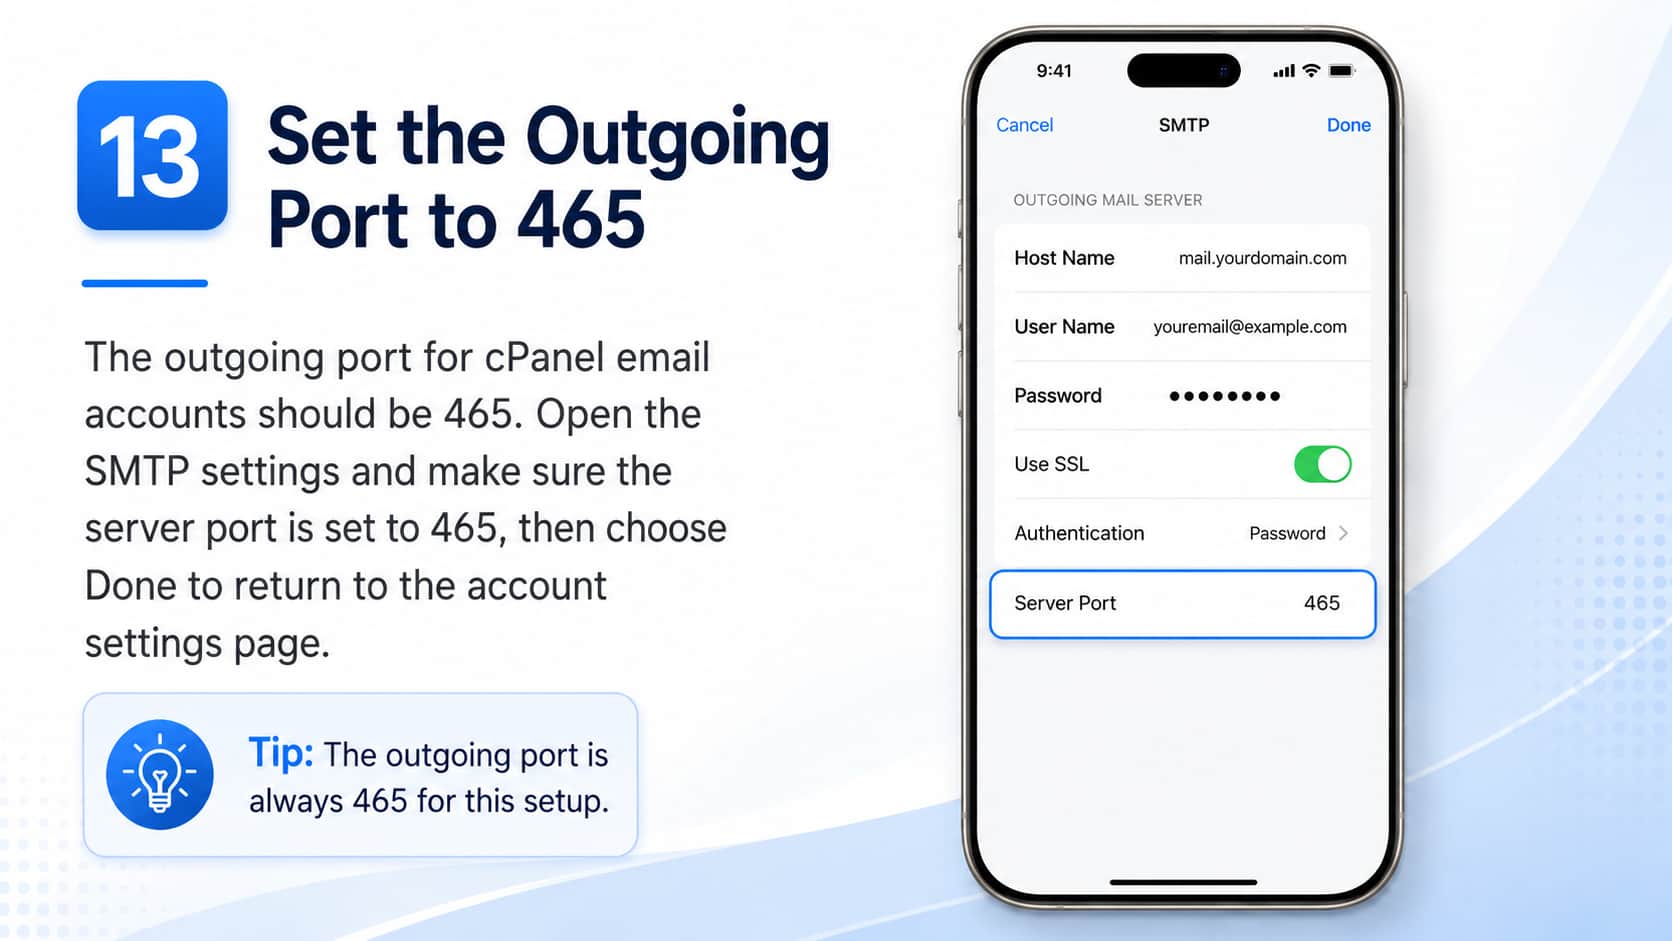
Choose Done to go back to the account settings page.
Next, check the incoming port number. At the bottom of the Account page, choose the Advanced option.
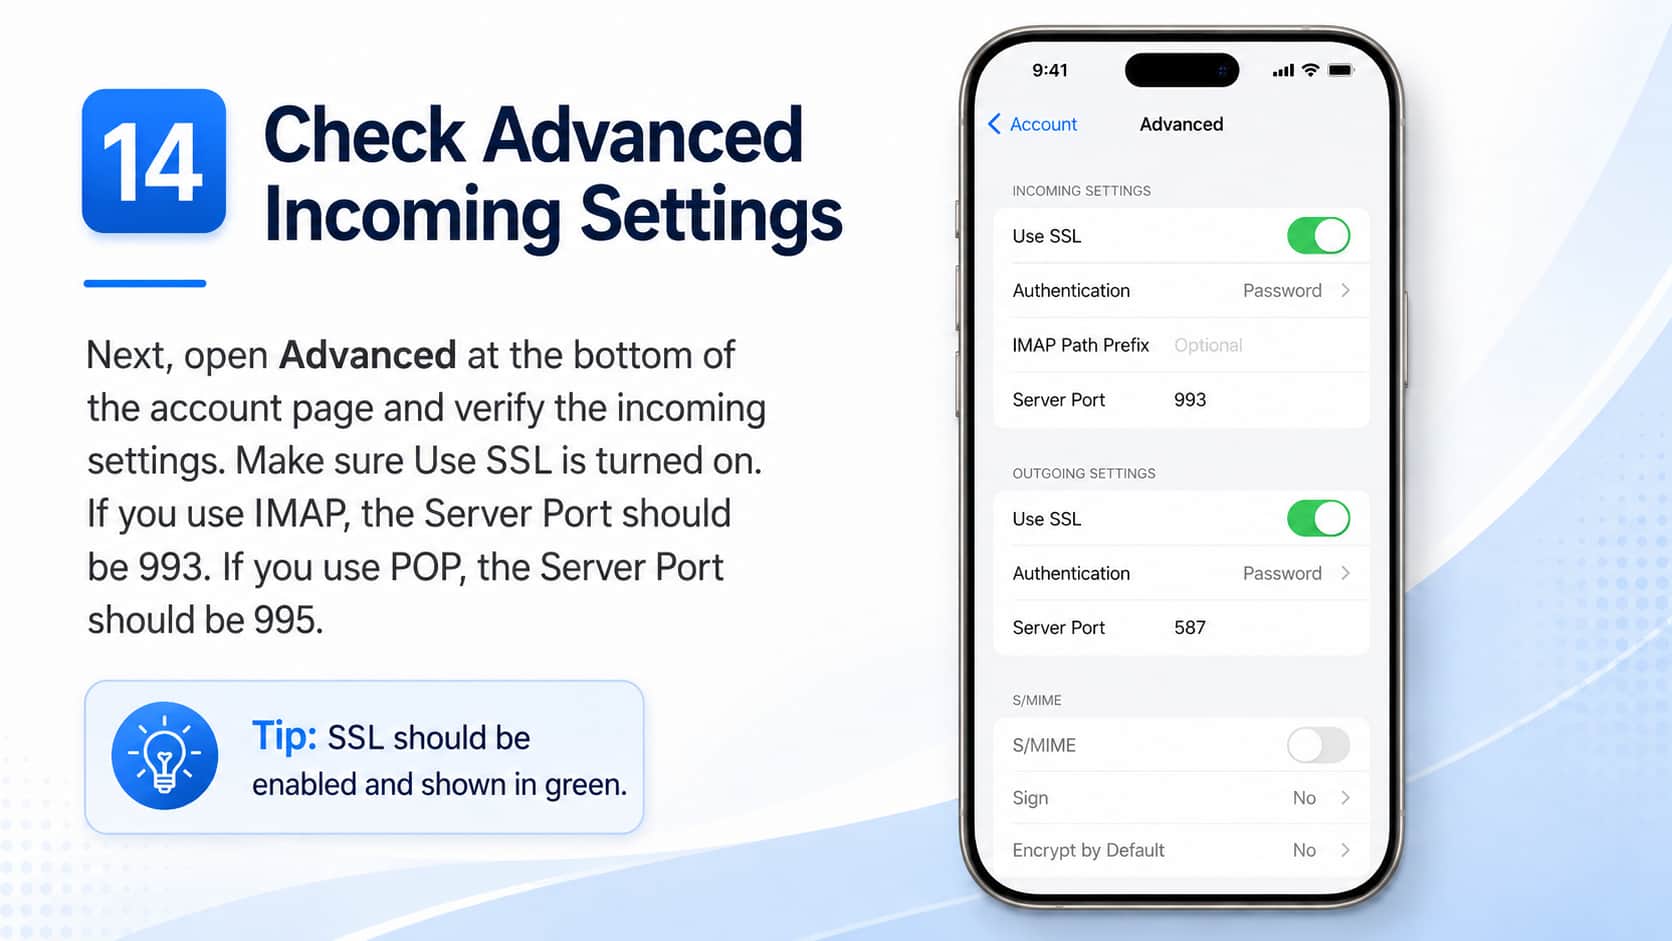
Ensure that Use SSL is toggled on (green).
If using an IMAP connection, Server Port should be 993.
If using a POP connection, Server Port should be 995.
Go back to the Account page and your account should now connect without issue.
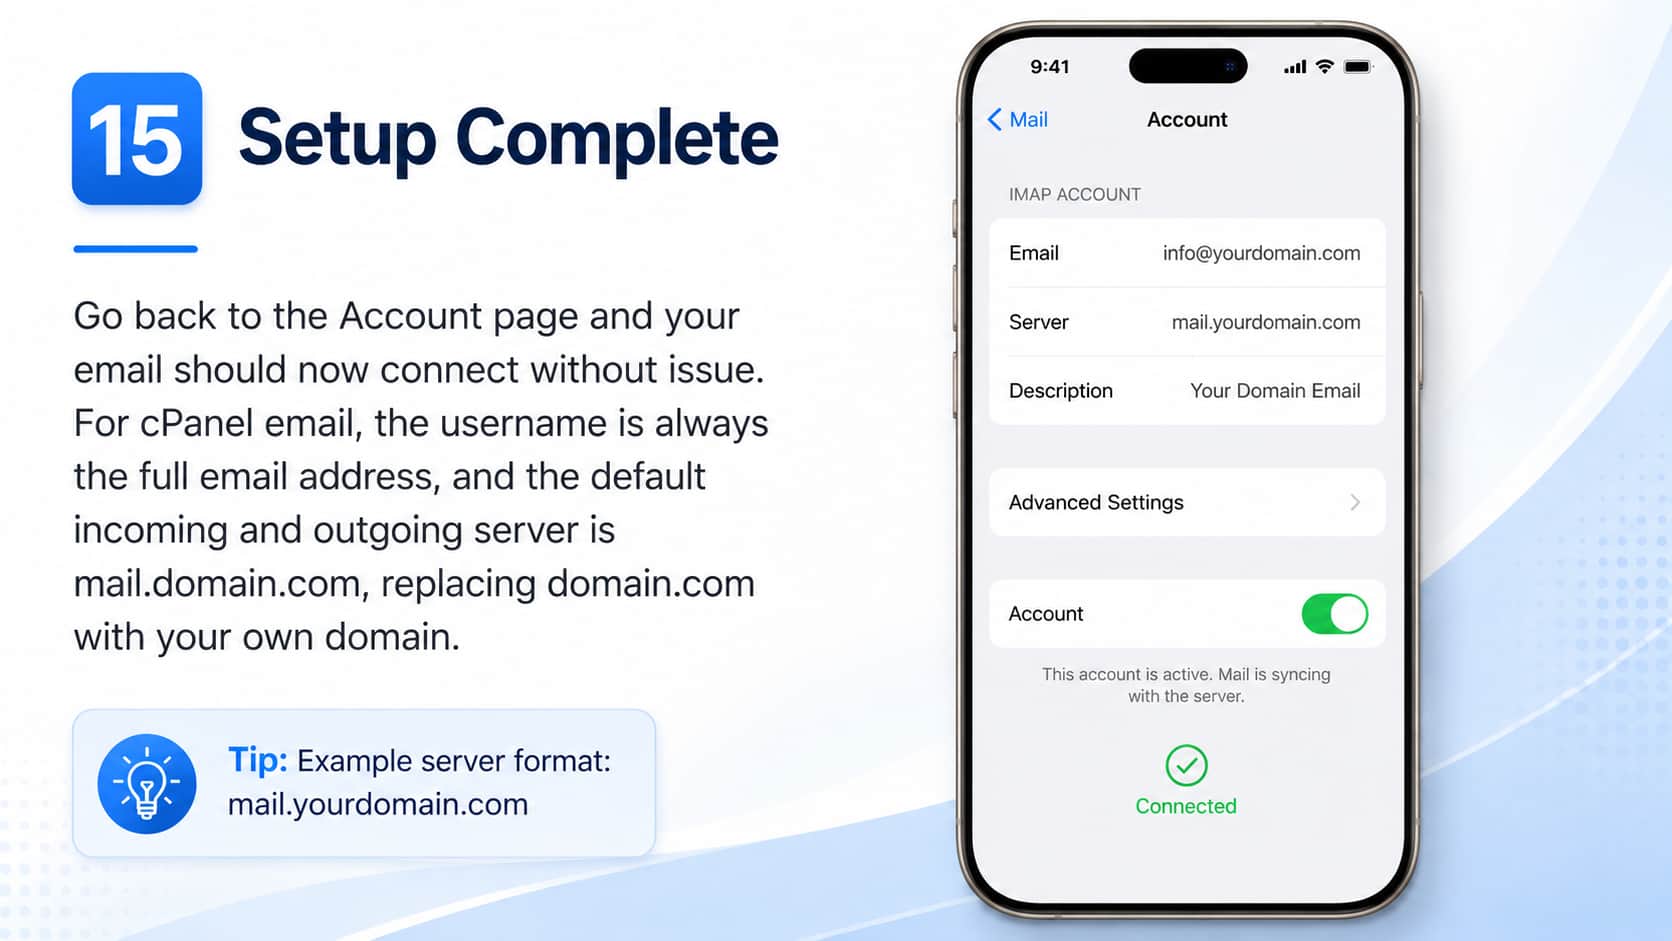
Default Email Account Settings (cPanel Email)
NOTE: The username is always the full email address you are setting up.
The incoming and outgoing server default setup is mail.domain.com where you would replace the domain.com part with the domain of the email address you are setting up.